


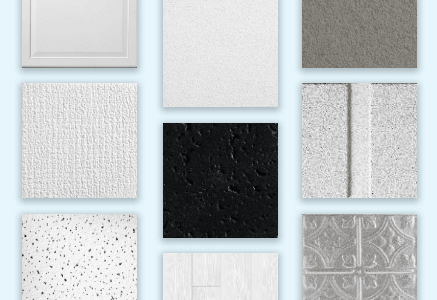

Ceiling tile preparation
How to cut mineral fiber and fiberglass ceiling tiles
Setting up the ceiling tile to make your cut
Cutting your ceiling tiles
Preparation
Getting the tile ready for cutting
Cutting your tiles
Ceiling tile preparation
Gather all the necessary tools needed:
A. Sharp utility knife
B. 2H pencil
C. Level or straight edge
A. Sharp utility knife
B. H2 pencil
C. Level or straight edge
Setting up the ceiling tile to make your cut
1. Measure: Measure the length and width of the area you need the tile to fit. Ensure you are measuring from the middle of the ceiling grid piece and not the edge.
2. Prepare: Lay the tile on a flat, clean surface.
3. Mark: Mark the tile lightly with a 2H pencil where you need to cut using your level or straight edge as a guide.
Cutting your ceiling tiles
Before cutting, ensure you know which type of edge you have. See the different steps below for square/lay-in edge vs a tegular edge.
A. Cutting a square/lay-in edge ceiling tile
Square/Lay-in (Visible grid)
1. Score the tile on your pencil line based on your measurement.
Tip: Score it around 0.125 inches shorter than the measurement. This will ensure the tile does not fit too tight.
2. Make a first pass cut where you scored it with a sharp utility knife.
Note: You will need to make a few passes at this, so it is OK if the cut doesn't go completely through the tile.
3. Make a second pass cutting the tile. When cutting a second time, push slightly harder into the tile to ensure you are cutting deeper.
4. If needed, keep cutting the tile, making the cut deeper and deeper until it cuts through.
Tip: Do NOT pull the cut piece apart from the tile. To avoid damaging any parts, wait until it is completely separated before removing.
B. Cutting a tegular ceiling tile
Certain ceiling tiles have tegular edges, meaning they sit and extend lower than the grid. When cutting tegular edge tiles, follow the same instructions as above and additionally, 1 - 4 below.
Tegular (Minimized grid look)
1. Place the tile in place and to mark your 'shadow line'. The shadow line is the groove around the edge of your tile that fits into the grid.
2. Take the tile out of the ceiling. Cut into the light cut HALFWAY through the tile.
3. Cut the side of the tile to be able to remove the top half of the edge by placing the knife at the side of the tile. This creates the lip needed for the tile to sit into the grid.
4. Repeat these steps for each side that needs the tegular edge.
Tip: Be sure to use the cut edges on the borders facing the wall so painted edges are facing the room and visible.
Ceiling tile resources
Learn more about installing your ceiling with resources from Kanopi by Armstrong Ceilings.
 Thanks for subscribing!

 Buy 3, get 1 free
